Azure traffic manager is nothing but it is your global DNS load balancer that help you to manage the traffic across multiple datacenter and regions. Traffic manager uses the DNS to direct client requests to the multiple endpoints in most appropriate way. With the help of traffic manager, clients connect directly to the endpoints. Traffic manager can also be leveraged for external, non-Azure endpoints.
Let me show, how to create and configure traffic manager step-by-step.
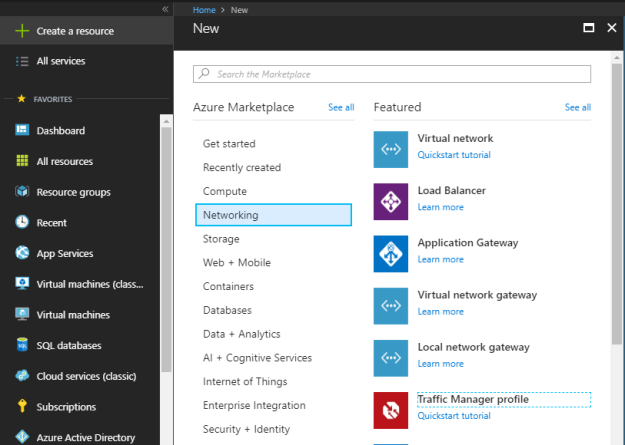
Login to the Azure Portal and select “+ Create a resource”. Select the “Networking” and then select “Traffic Manager”.
Here you define the name of the traffic manager, routing method, subscription, resource group and location.
Name: you should use unique prefix for your traffic manager profile. For Example, if I use ex-tm as a prefix for my traffic manger profile that will be associated with my global Exchange deployment then complete name of this traffic manager profile would be ex-tm.trafficmanager.net. Make sure this name can’t be changed once created.
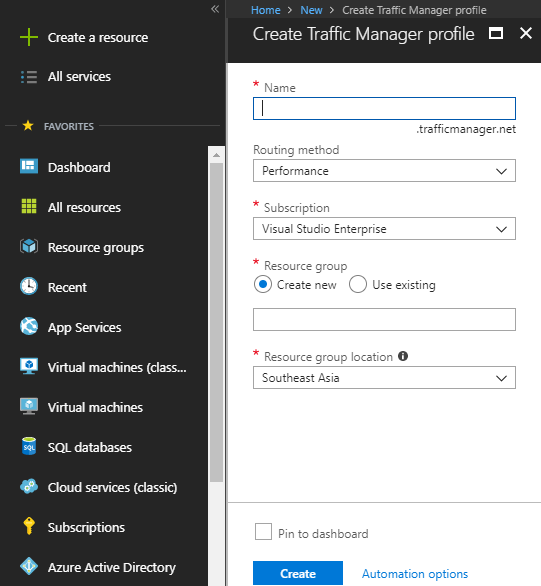
Define the routing method that you wish to use for your traffic manager profile. However, you can change your routing method from configuration panel as well.
Once defined all the necessary details, click on “Create” to setup a traffic manager profile.

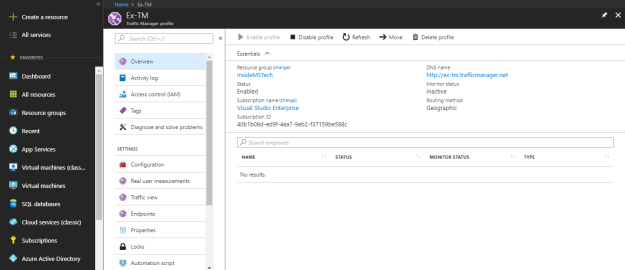
Once traffic manager profile created, you can see the basic configuration from overview panel.
Go to the Configuration panel under settings to configure your traffic manager profile.
Routing Method: Select routing method based on your need. Azure traffic manager profile provides four different types of routing methodologies.
Priority: Use this routing method when you want to route all the traffic to a primary service endpoint, and based on the configuration, traffic can be routed to backup service endpoints if primary service endpoint fails. In simple words, it is kind of active passive routing methodology.
Weighted: Weighted routing methodology can be leveraged when you want to distribute traffic based on the weight assigned to the specific set of endpoints or multiple set of endpoints based on the weight.
Performance: Performance routing methodology is beneficial when you want to distribute traffic according to performance. Here performance criteria is network latency, therefore the traffic will be redirected based on the lowest network latency. It could be the closest location and in some it will not be the closest location as well.
Geographic: Geographic routing as name suggests, it is based on the location from where the DNS query originates. It helps in redirecting requests to the based on the geographic region to improve user experience, to comply with data regulations etc.
DNS time to live (TTL): As it is based on DNS query, therefore you need to define a response time of the query. By default, it is set to 300 sec.
Endpoint monitor settings:
- Protocol: Select protocol for endpoint probing to check the health of the service endpoints. You get three protocol, HTTP, HTTPS, and TCP. In case of HTTPS, probe only check the availability of certificate but doesn’t check the validity of certificate.
- Port: Select the port number based on protocol.
- Path: Define the path setting for HTTP and HTTPS protocol. Use relative path and name of the webpage name for TCP, forward slash (/) is a valid entry for the relative path.
Fast endpoint failover settings:
- Probing interval: Enter the interval time for probing to check the health of the service endpoint. You can choose between 10 seconds for fast probing and 30 seconds for normal probing.
- Tolerated number of failures: you can the define number of probing failures between 0 to 9.
- Probe timeout: Probe timeout should be minimum 5 seconds and maximum should be less than the probing interval.

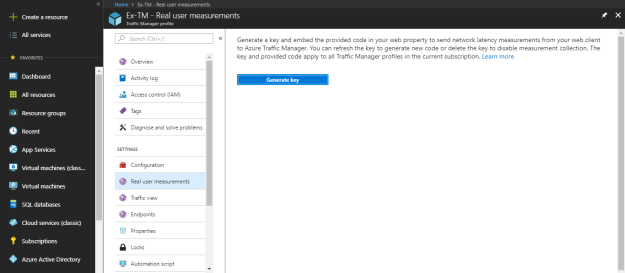
Generate key from Real user measurements panel under settings. Any measurement, you send and receive any traffic from an application to traffic manager is identified by the RUM Key. To know more about it in detail and how to embed it within the application, click here.
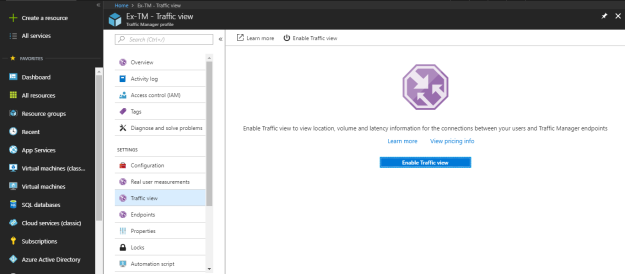
From the Traffic view panel under settings, you can enable the traffic view to view location, volume and latency information for the connections between your users and Traffic Manager endpoints.
From Endpoints panel under settings, add all your service endpoints.
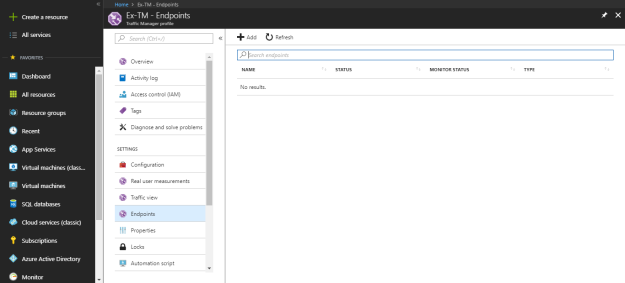
Azure traffic manager supports three types of endpoints.
- Azure endpoints: Use this type of endpoint to load-balance the traffic of Azure cloud services.
- External endpoints: Use this type of endpoints if you want to load-balance external services, which are outside the Azure environment.
- Nested endpoints: Nested endpoints are little advance level configuration in which child traffic manager profile check the health probes and propagate the results to parent traffic manager profile to decide the service endpoints.
Based on the endpoint type selection, fill rest of the required details and then add the endpoints.

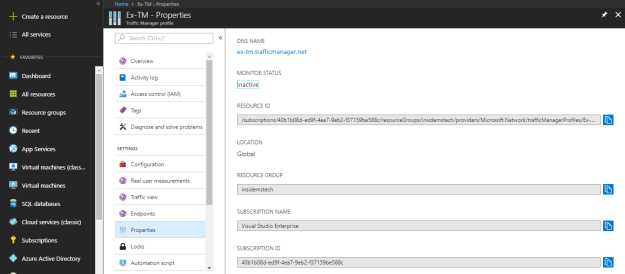
In the properties section, you can look at the traffic manager profile properties.
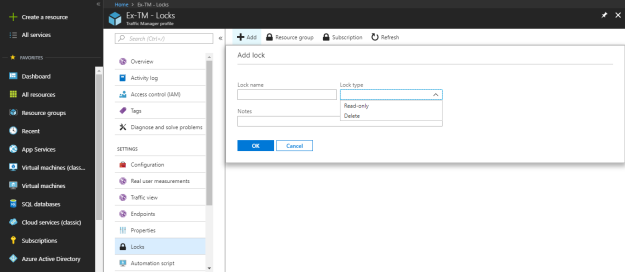
Under the locks section, you can create and configure the lock type to prevent changes and protecting the azure traffic manager profile.
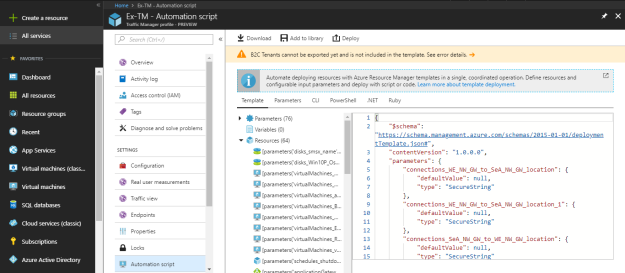
Under the “Automation script” download the script or add to library for reuse.
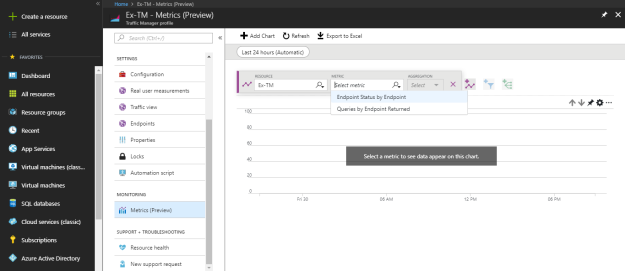
In the metrics panel, you can monitor the metrics of traffic manager profile by two different parameters:
- Endpoint Status by Endpoint
- Queries by Endpoint Returned
I hope, this article helped you to understand, create, configure and manage Azure traffic manager.


