In my preceding blogpost I had covered Azure Import/Export service concept and requirements. In this post let me explain how to do it step by step.
First look at the Azure import service.
- Look at the data that you need to migrate, and note down the capacity, number of drives required, data type and destination blob location in Microsoft Azure.
- Procure and prepare the drives using WAImportExport tool and bitlocker. WAImportExport tool to copy the data and bitlocker to encrypt the data.
-
Create an import job through Azure portal and upload the journal file created be WAImportExport tool. Journal file is created for each drive that contains drive ID and bitlocker key.
-
Login to the Azure portal and search for import/export service.

-
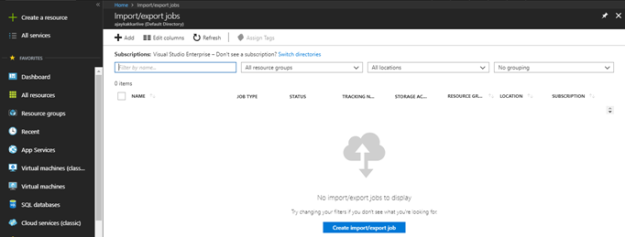
In the Import/Export jobs panel, select “create import/export job” to initiate a new job request.

-
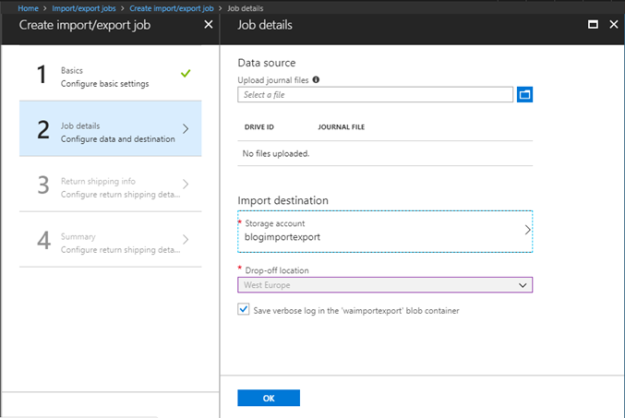
Fill the basic configuration details as needed.

-
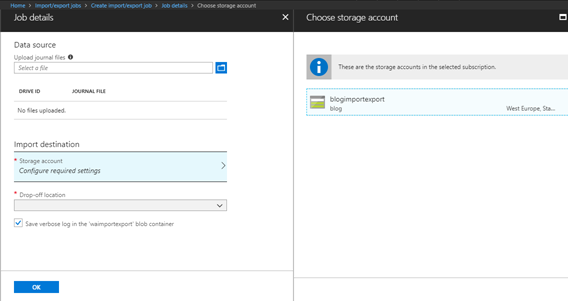
In job details panel, upload the journal files, select destination storage account.
-
Drop-off location will be selected by default based on your storage account location and click on OK.
- Fill the return shipping information and verify the summary to create a job successfully.
-
-
Ship the drives to the shipping address as described in summary page.

- Update the delivery tracking number in your import job details and submit the import job.
- Once drives received, will be processed in the Azure datacenter.
- Drives will be returned to you once import completed based on the return address provided.
Here is the graphical representation of the above process.
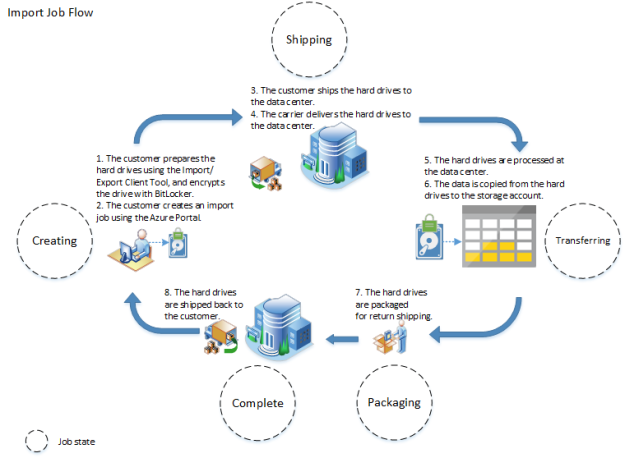
Courtesy: Microsoft
Now, look at the Azure export service.
- Look at the data that you need to export from Azure storage account, and note down the capacity, number of drives required, data type and destination location.
- Procure the number of drives that you need to export data from storage account.
-
Create an export job through Azure portal.
-
Login to the Azure portal and search for import/export service.

-
In the Import/Export jobs panel, select “create import/export job” to initiate a new job request.
-
Fill the basic configuration details as needed.
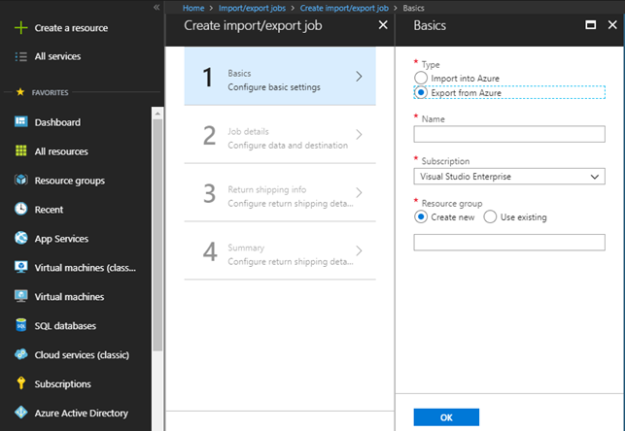
-
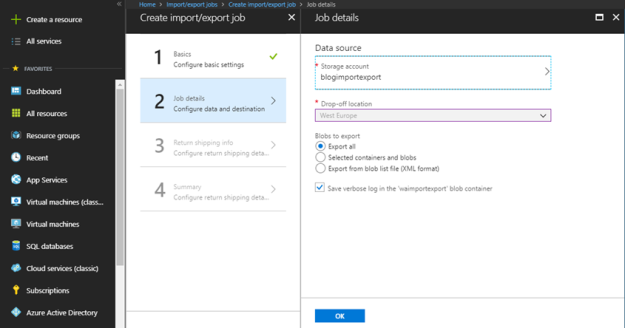
In job details panel, select the source storage account.
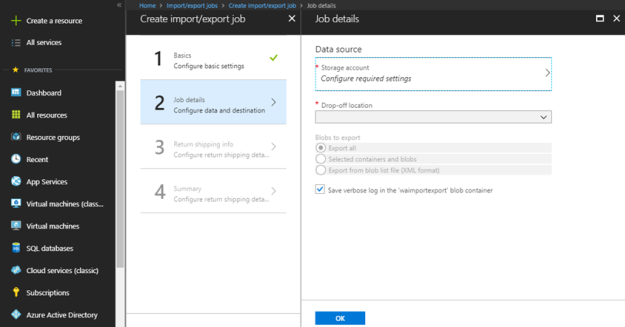
-
Drop-off location will be selected by default based on your storage account location, select required export option and click on OK.
-
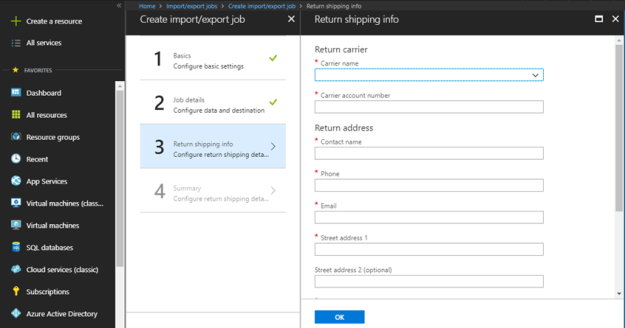
Fill the return shipping information.
-
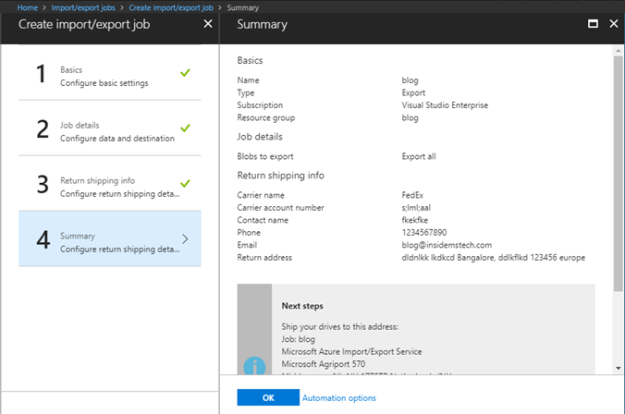
verify the summary and click on OK to create the job successfully.
-
-
Ship the drives to the shipping address as described in summary page.

- Update the delivery tracking number in your import job details and submit the export job.
- Once drives received, will be processed in the Azure datacenter.
- The drives will be encrypted by bitlocker and keys will be provided to you via Azure portal.
- Drives will be returned to you once import completed based on the return address provided.
Here is the graphical representation of the above process.
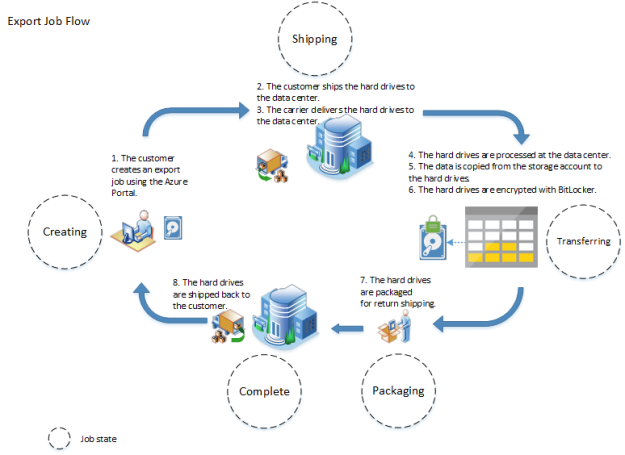
Courtesy: Microsoft
I hope, this blogpost helped you with Azure Import//Export job. Please share your feedback in comments section.
